> ## Documentation Index
> Fetch the complete documentation index at: https://docs.langbot.app/llms.txt
> Use this file to discover all available pages before exploring further.
# KOOK
> Build a KOOK AI bot with LangBot. Connect large language models to your KOOK (Kaiheila) channels.
## Create a Bot
Visit the [KOOK Developer Center](https://developer.kookapp.cn/), log in and access the console.
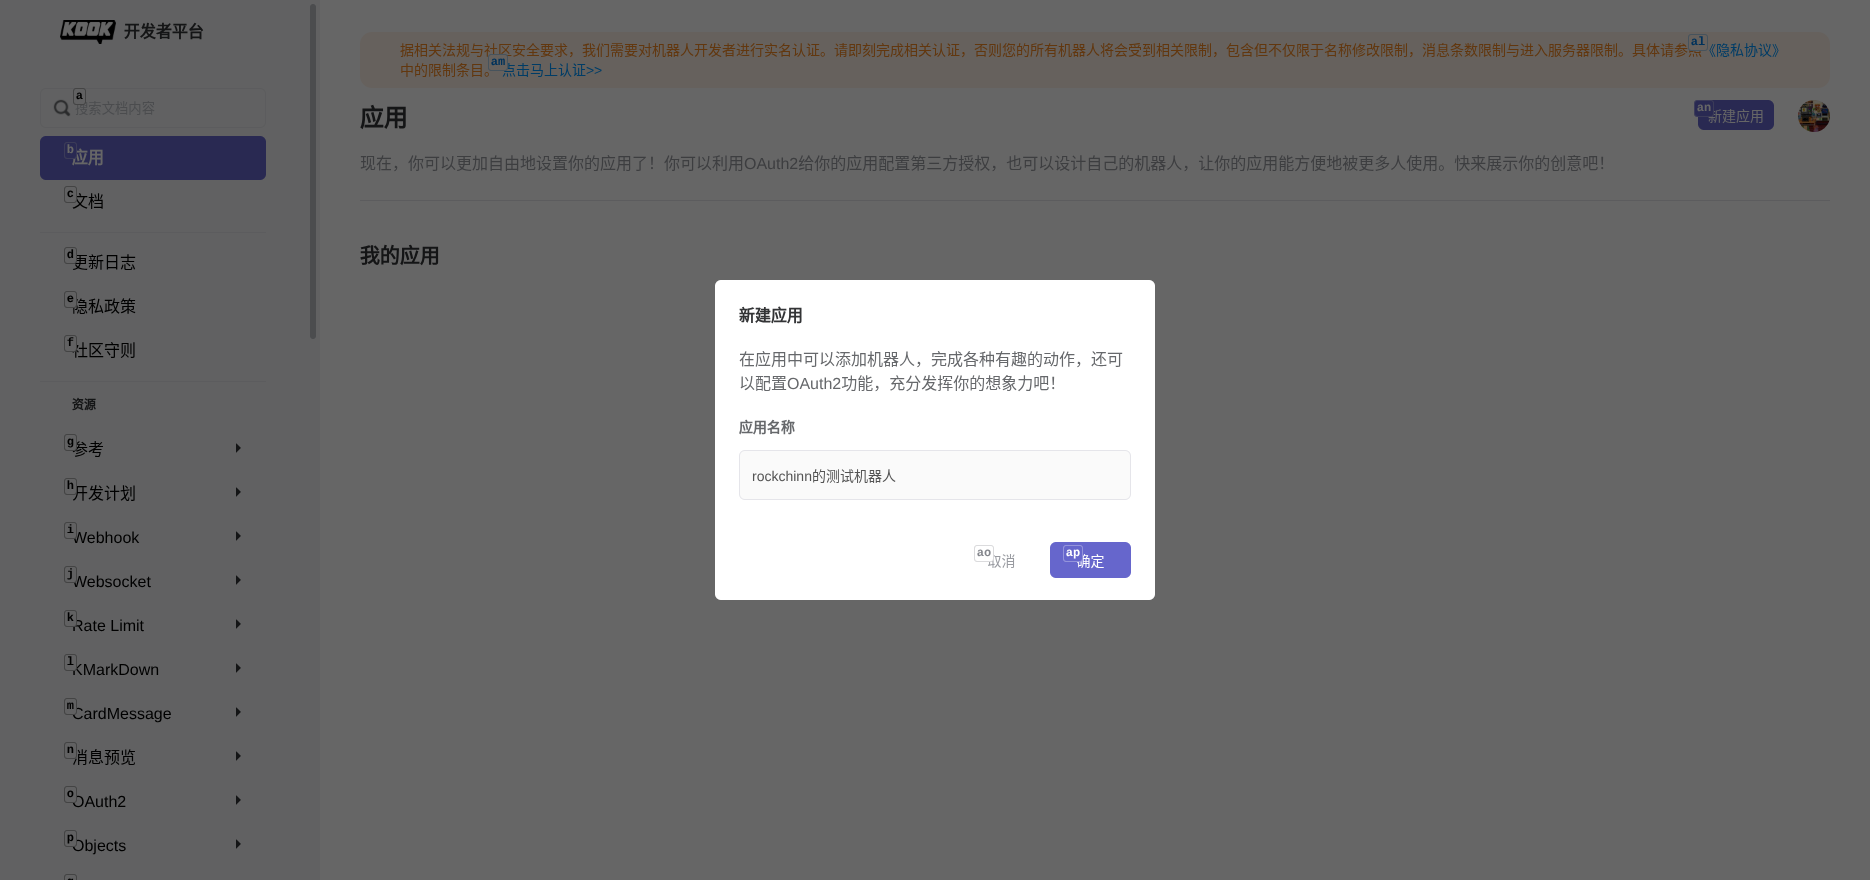
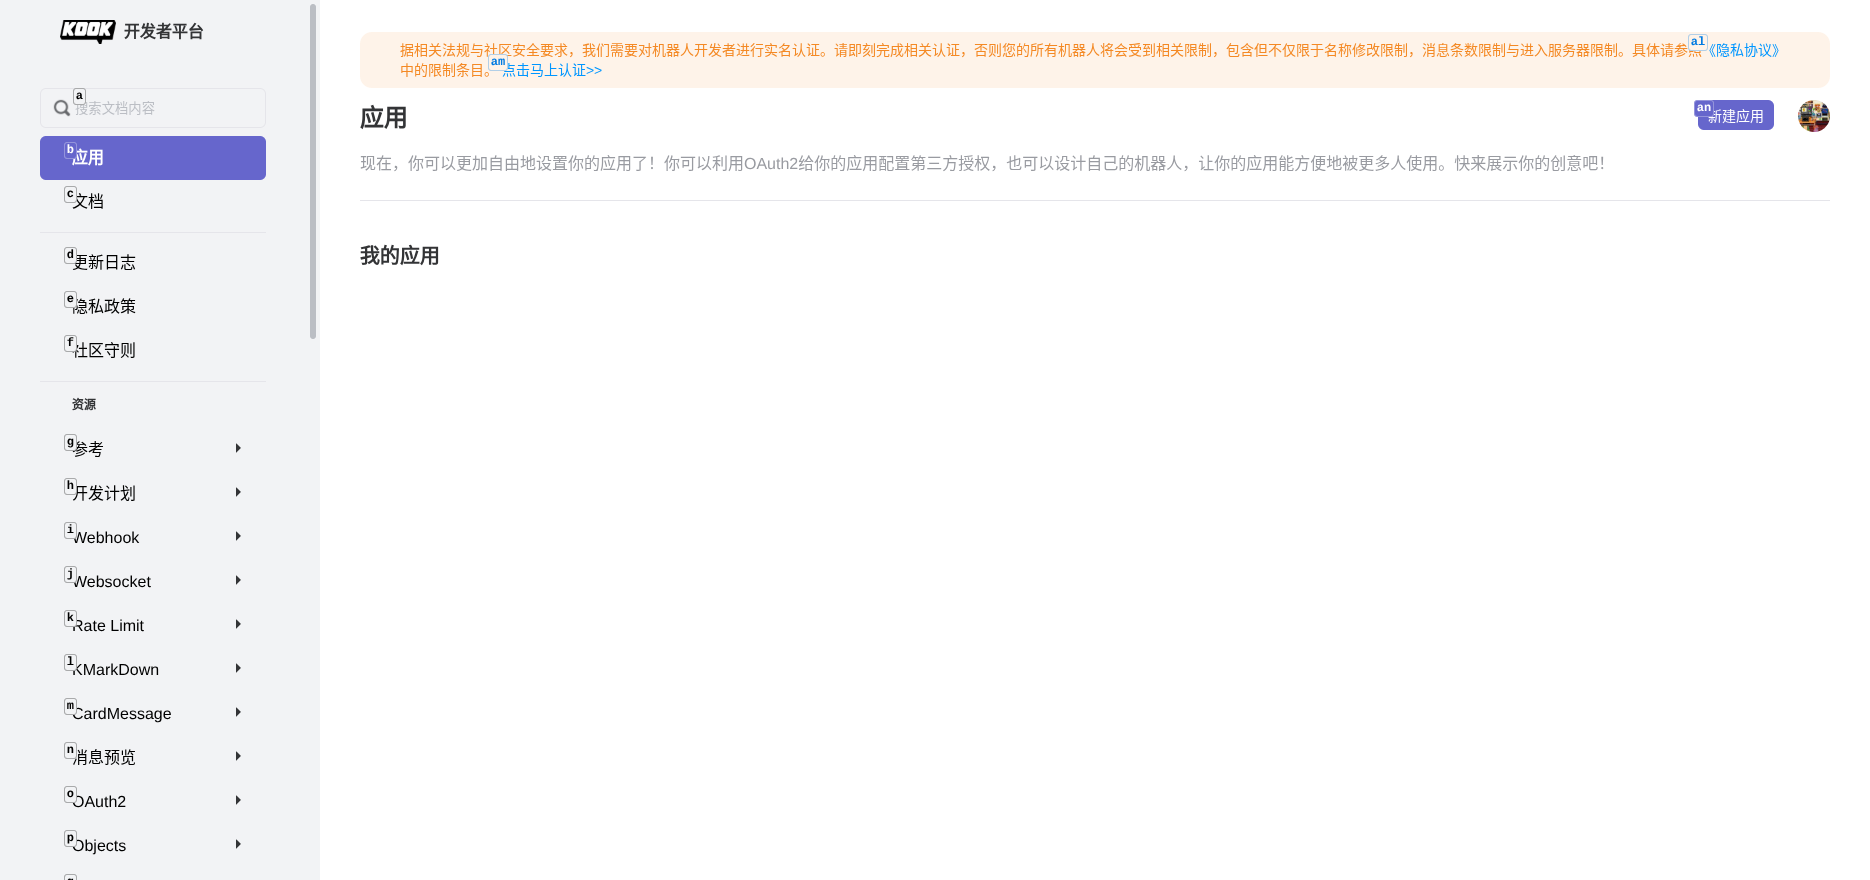 Click "Create Application" and fill in the application information.
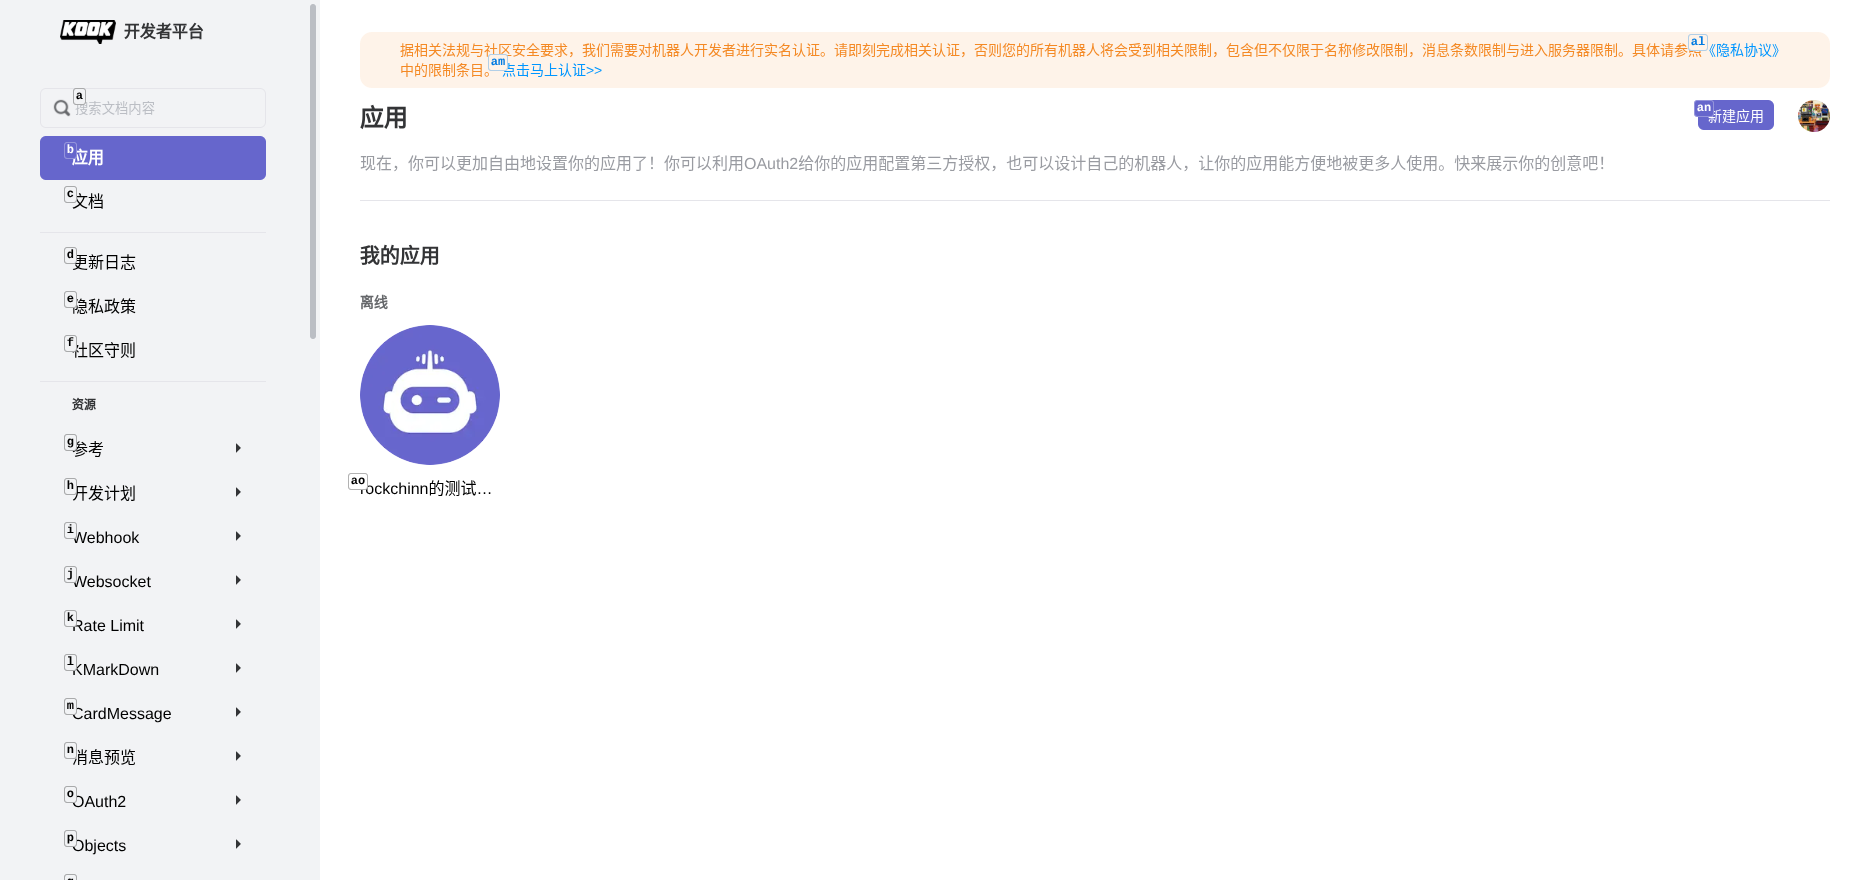
 After the application is created, enter the application details page.
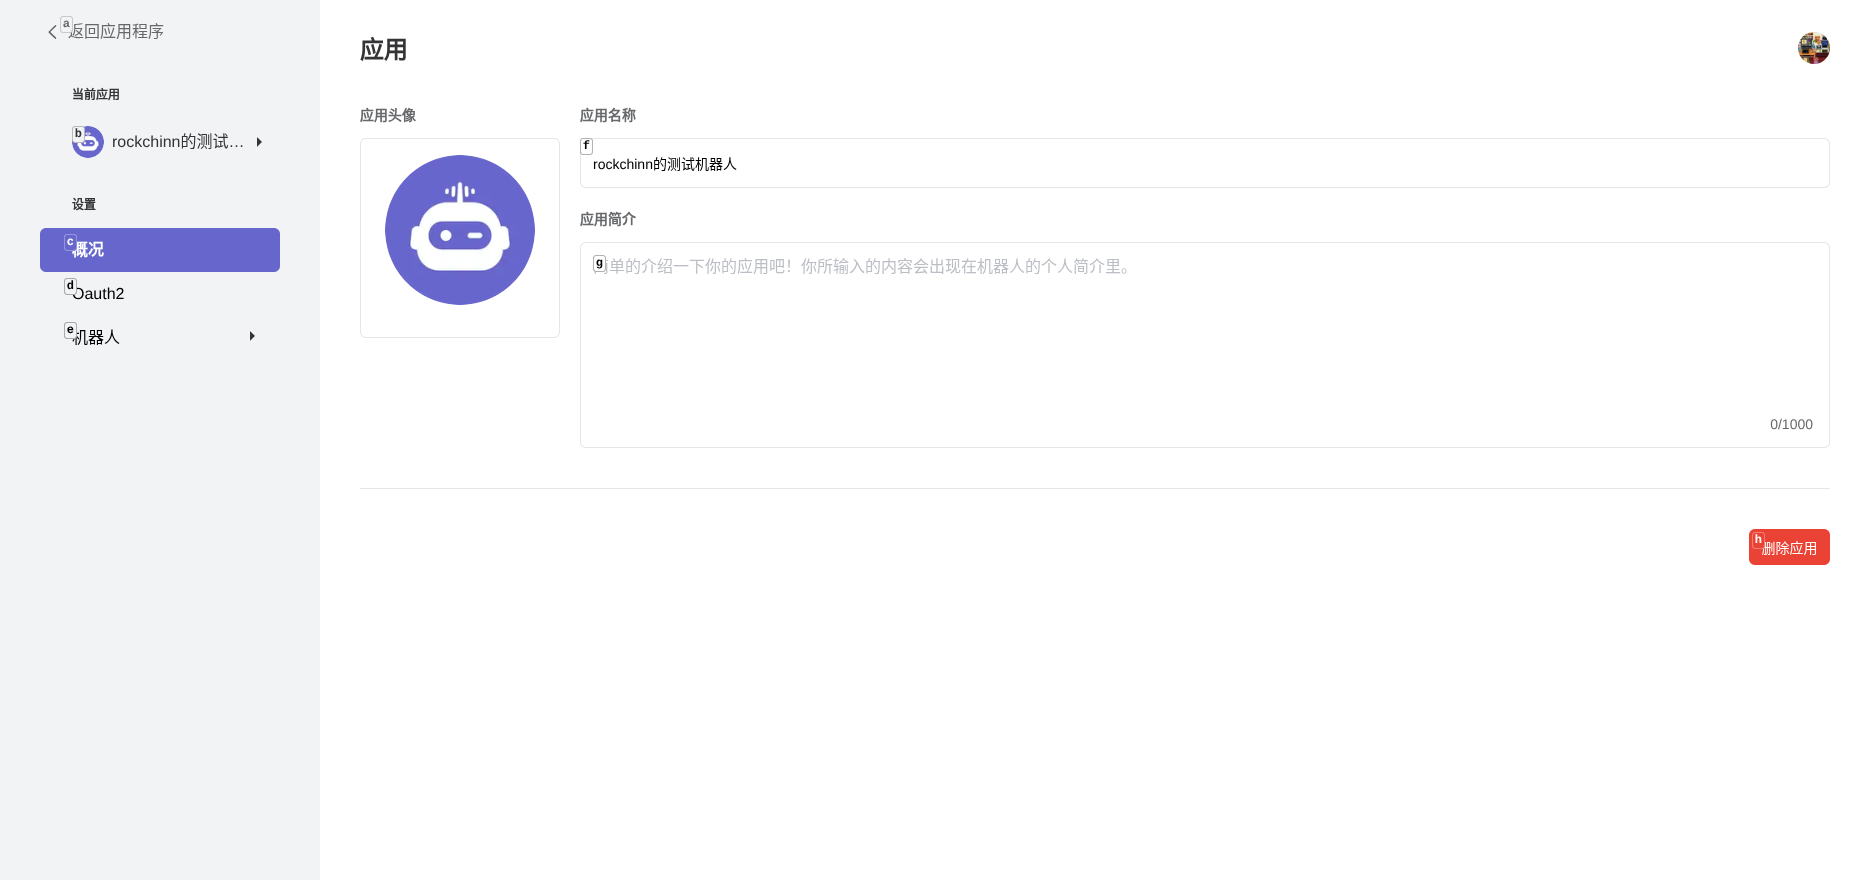
 You can view the basic information of the application on the application overview page.
 ## Get Bot Token
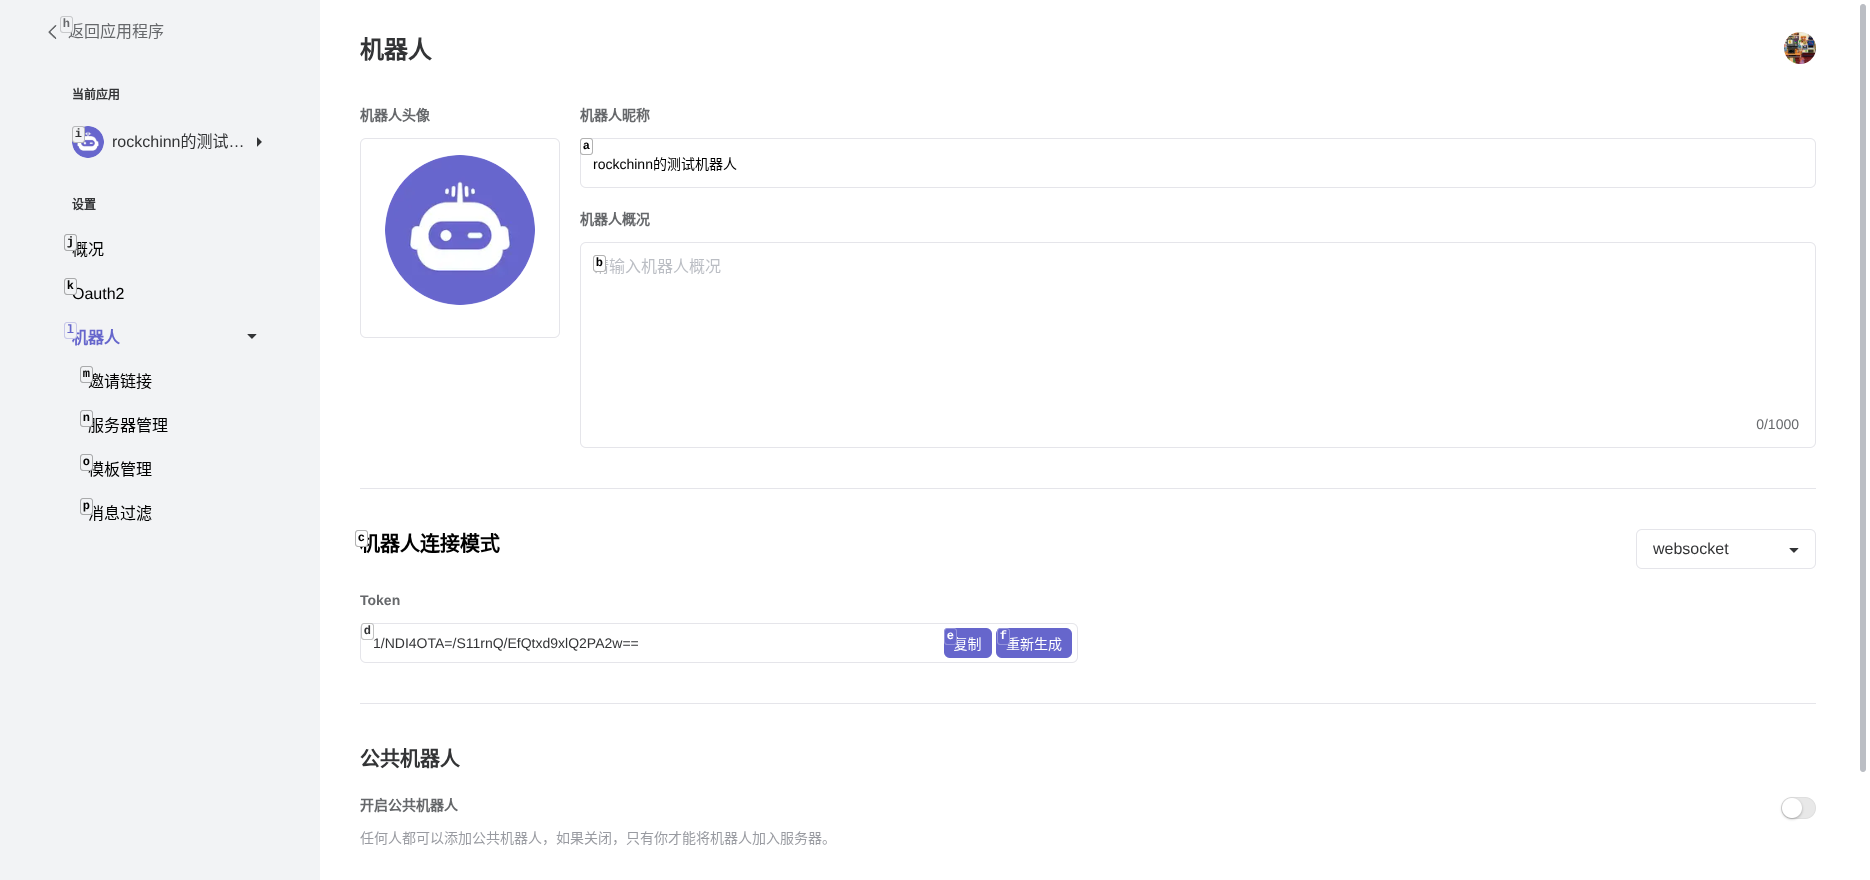
In the application page, click the "Bot" tab, copy the Bot Token and save it securely. You will need it later.
## Get Bot Token
In the application page, click the "Bot" tab, copy the Bot Token and save it securely. You will need it later.
 ## Configure Bot Permissions
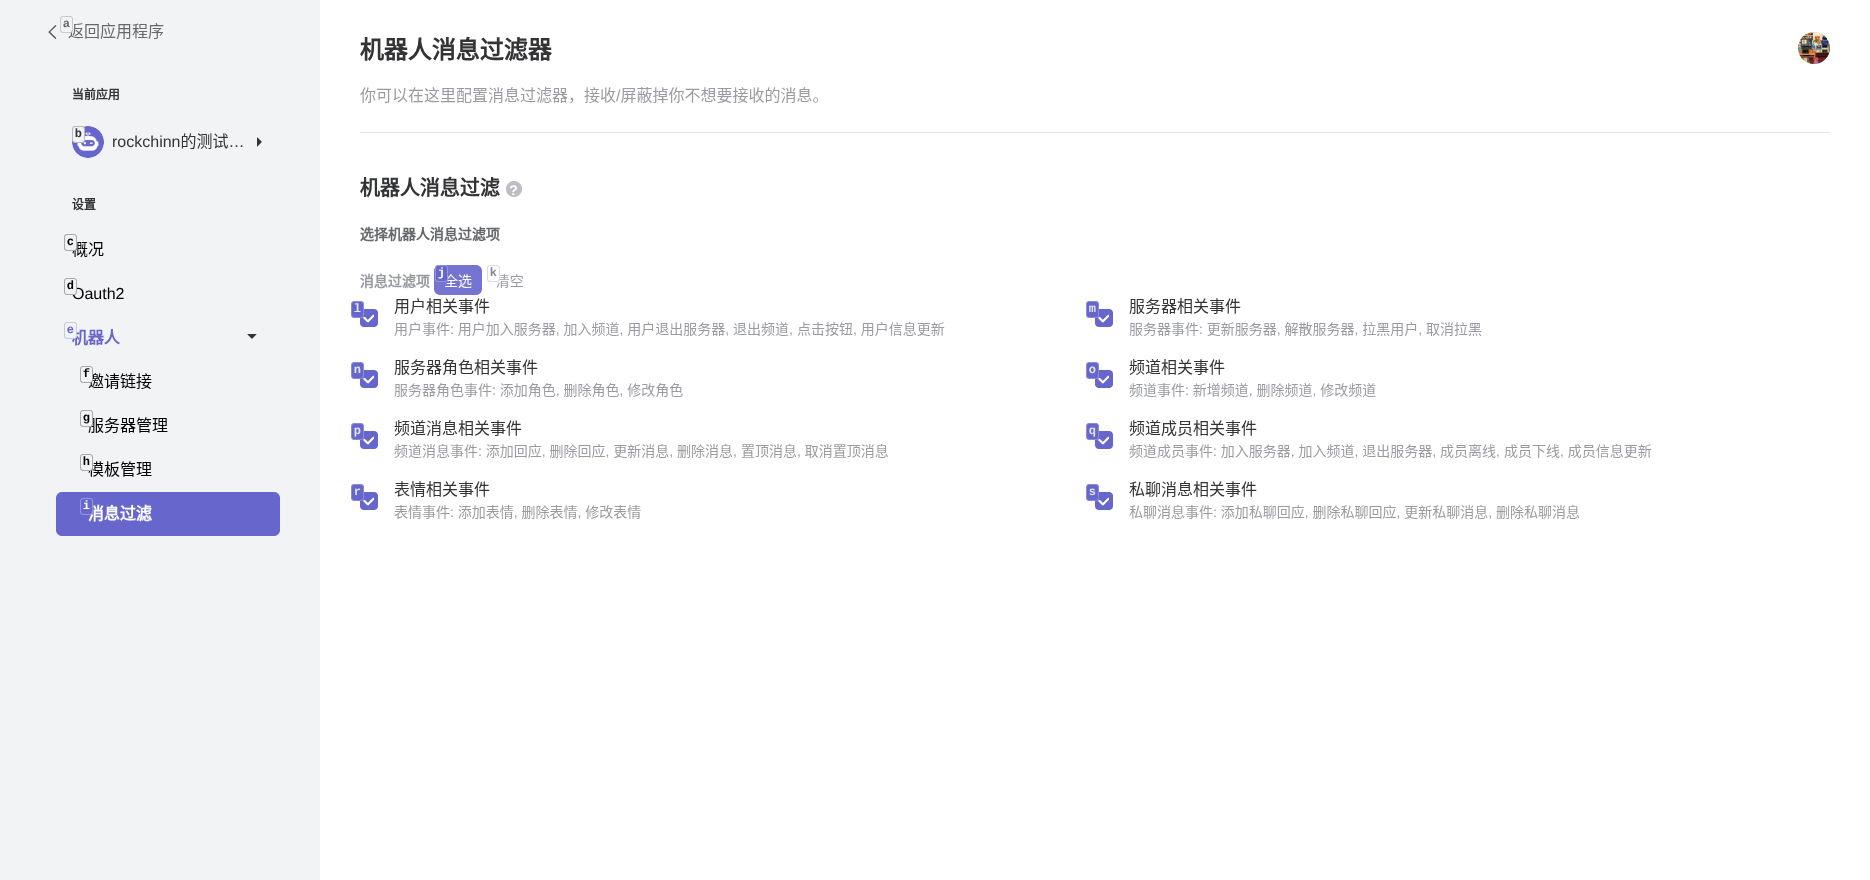
**Important:** In the "Bot" settings, find the "Message Filtering" option and click to configure.
## Configure Bot Permissions
**Important:** In the "Bot" settings, find the "Message Filtering" option and click to configure.
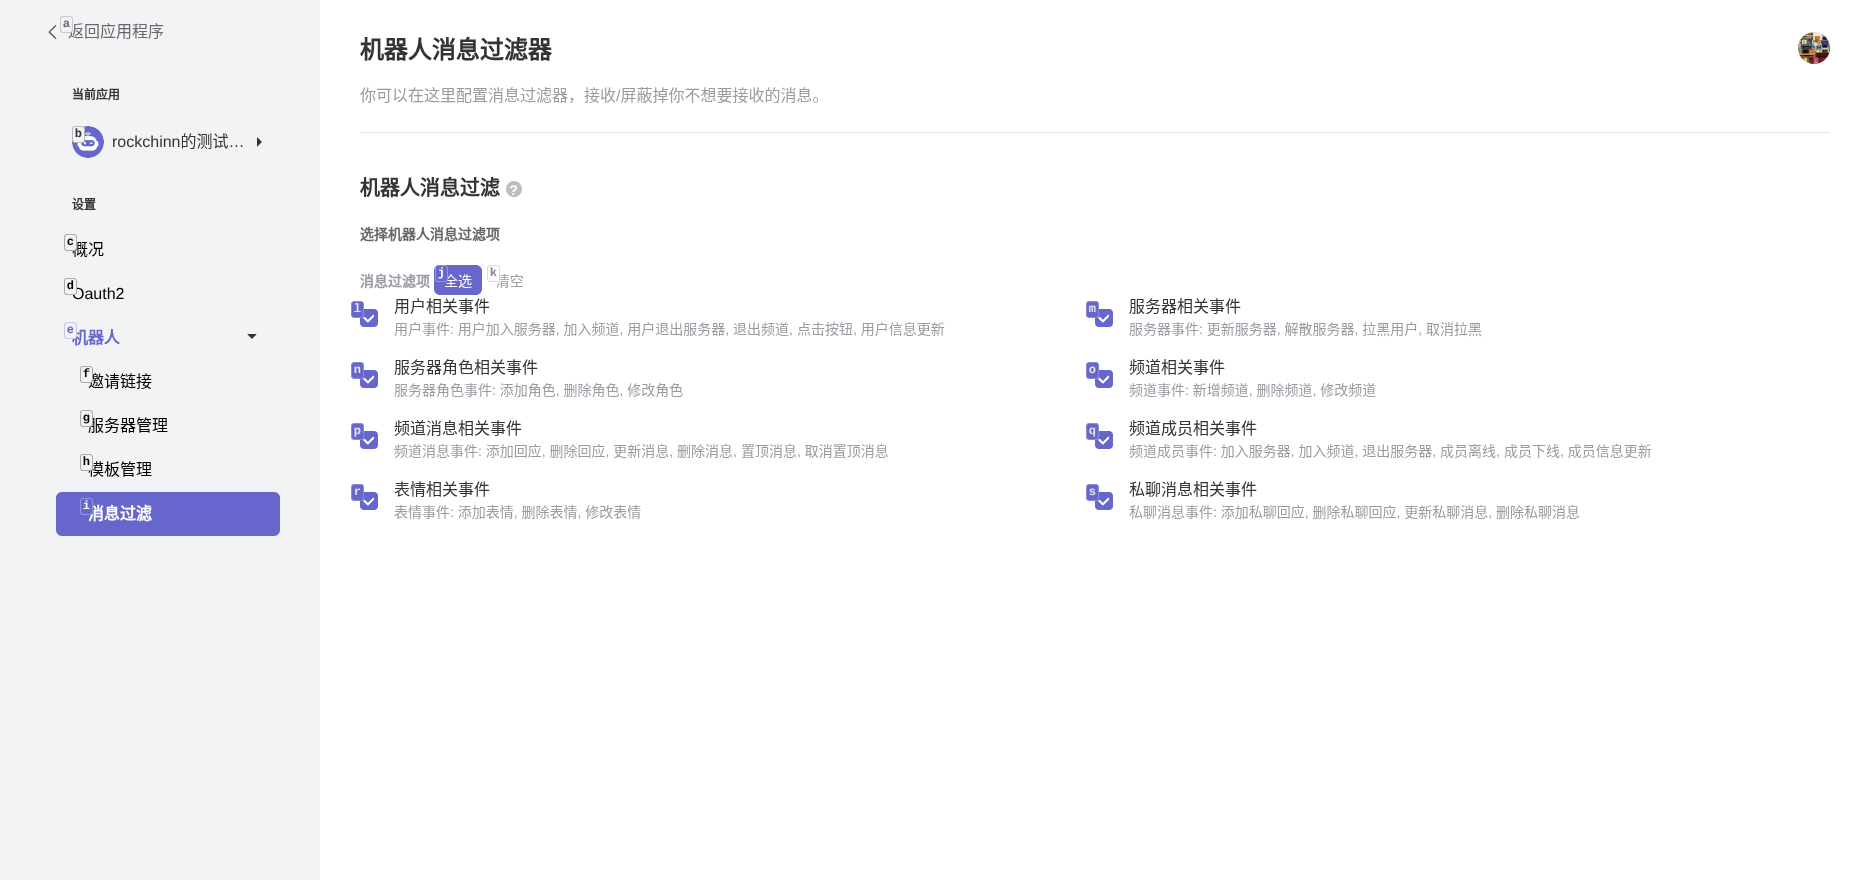 Enable all message-related event permissions, including channel messages and private message events. Otherwise, the bot will not be able to receive messages.
 ## Invite the Bot
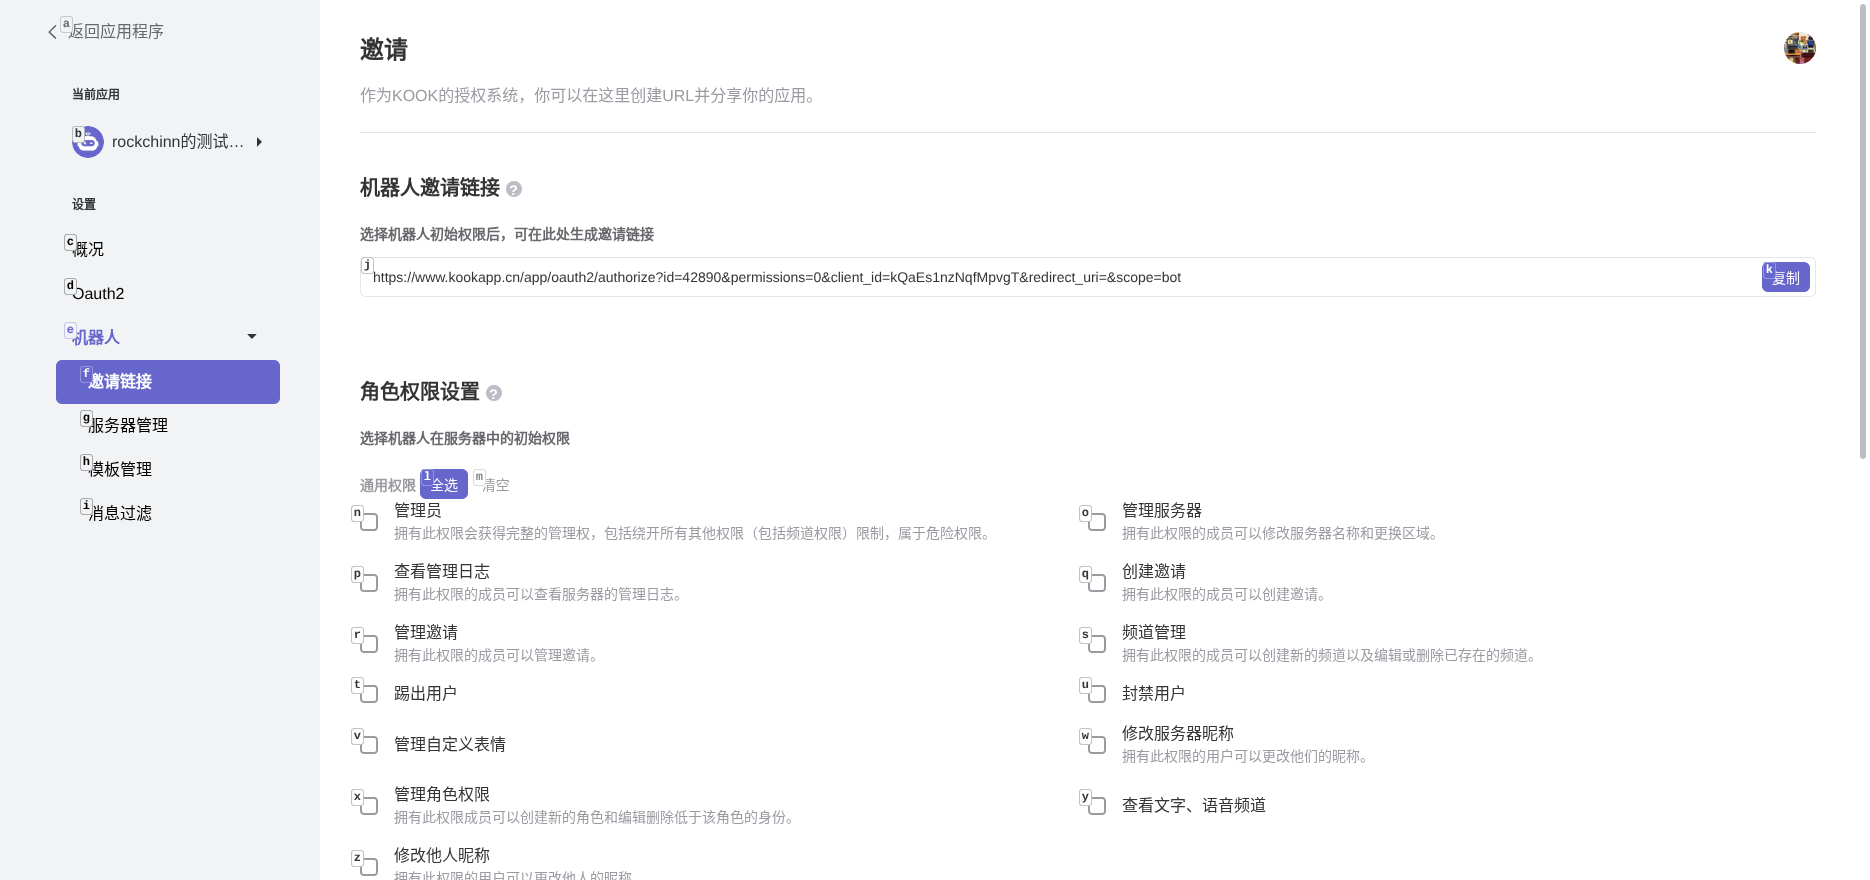
In the bot settings page, you can generate an invitation link to invite the bot to your server.
## Invite the Bot
In the bot settings page, you can generate an invitation link to invite the bot to your server.
 ## Connect to LangBot
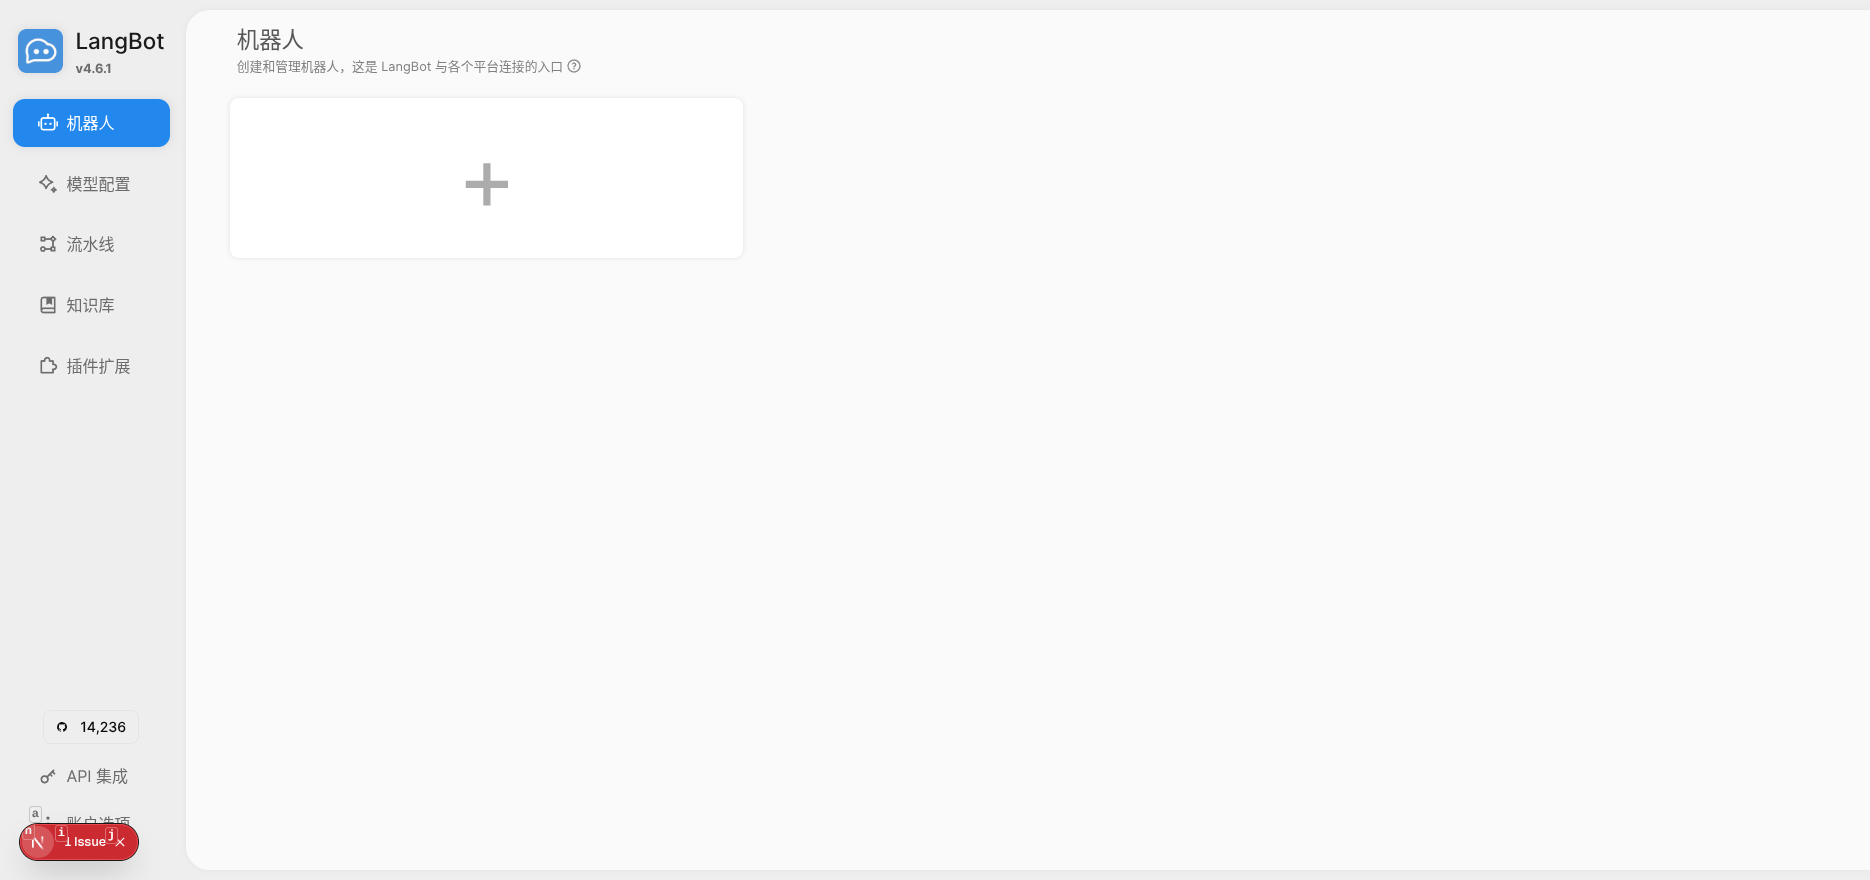
Open the LangBot Webui page, and click to create a new bot on the "Bots" page.
## Connect to LangBot
Open the LangBot Webui page, and click to create a new bot on the "Bots" page.
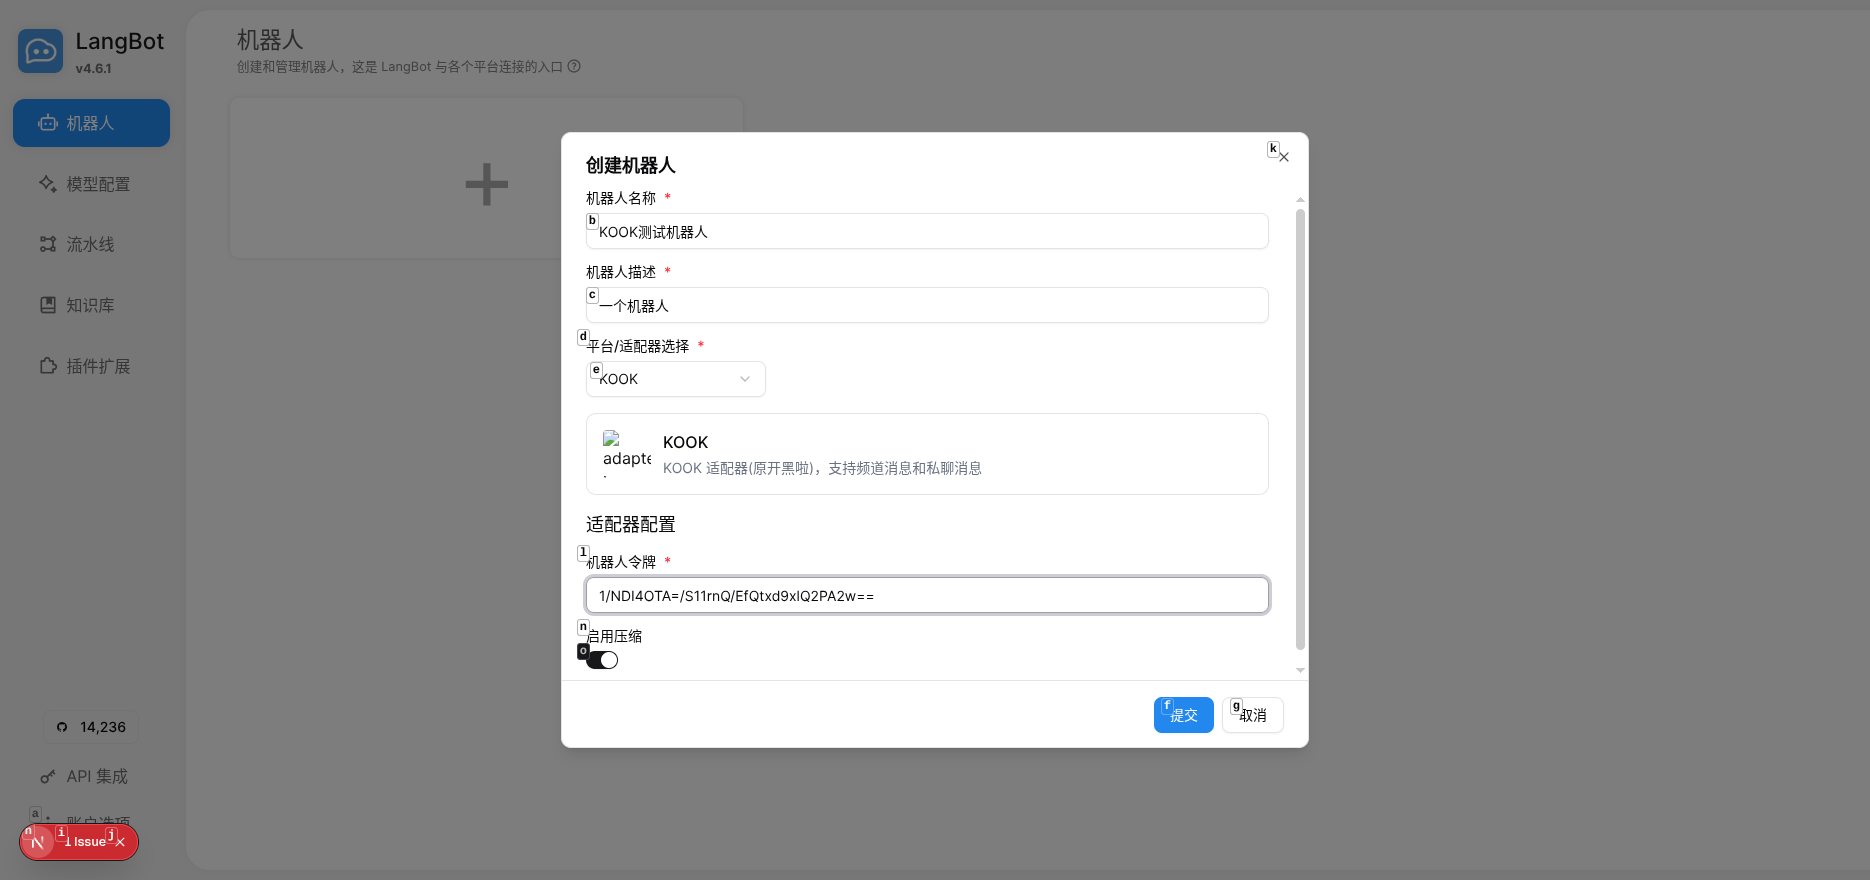
 Select the KOOK platform, fill in the bot name and Bot Token.
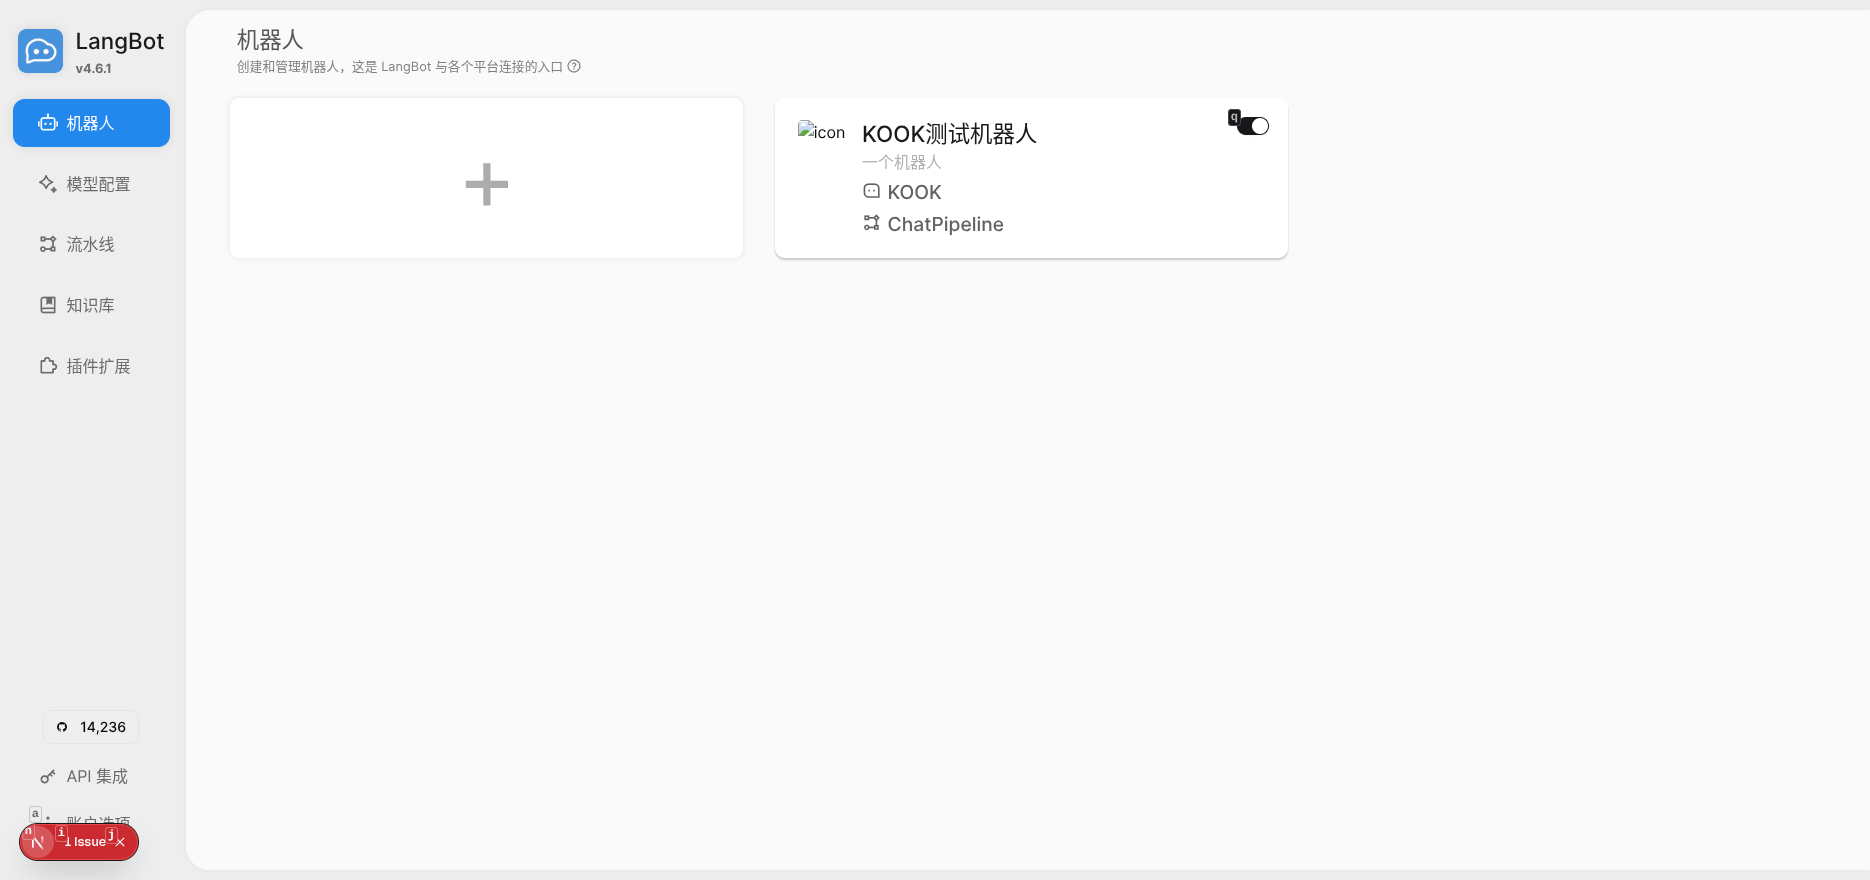
 After saving, the bot will appear in the list.
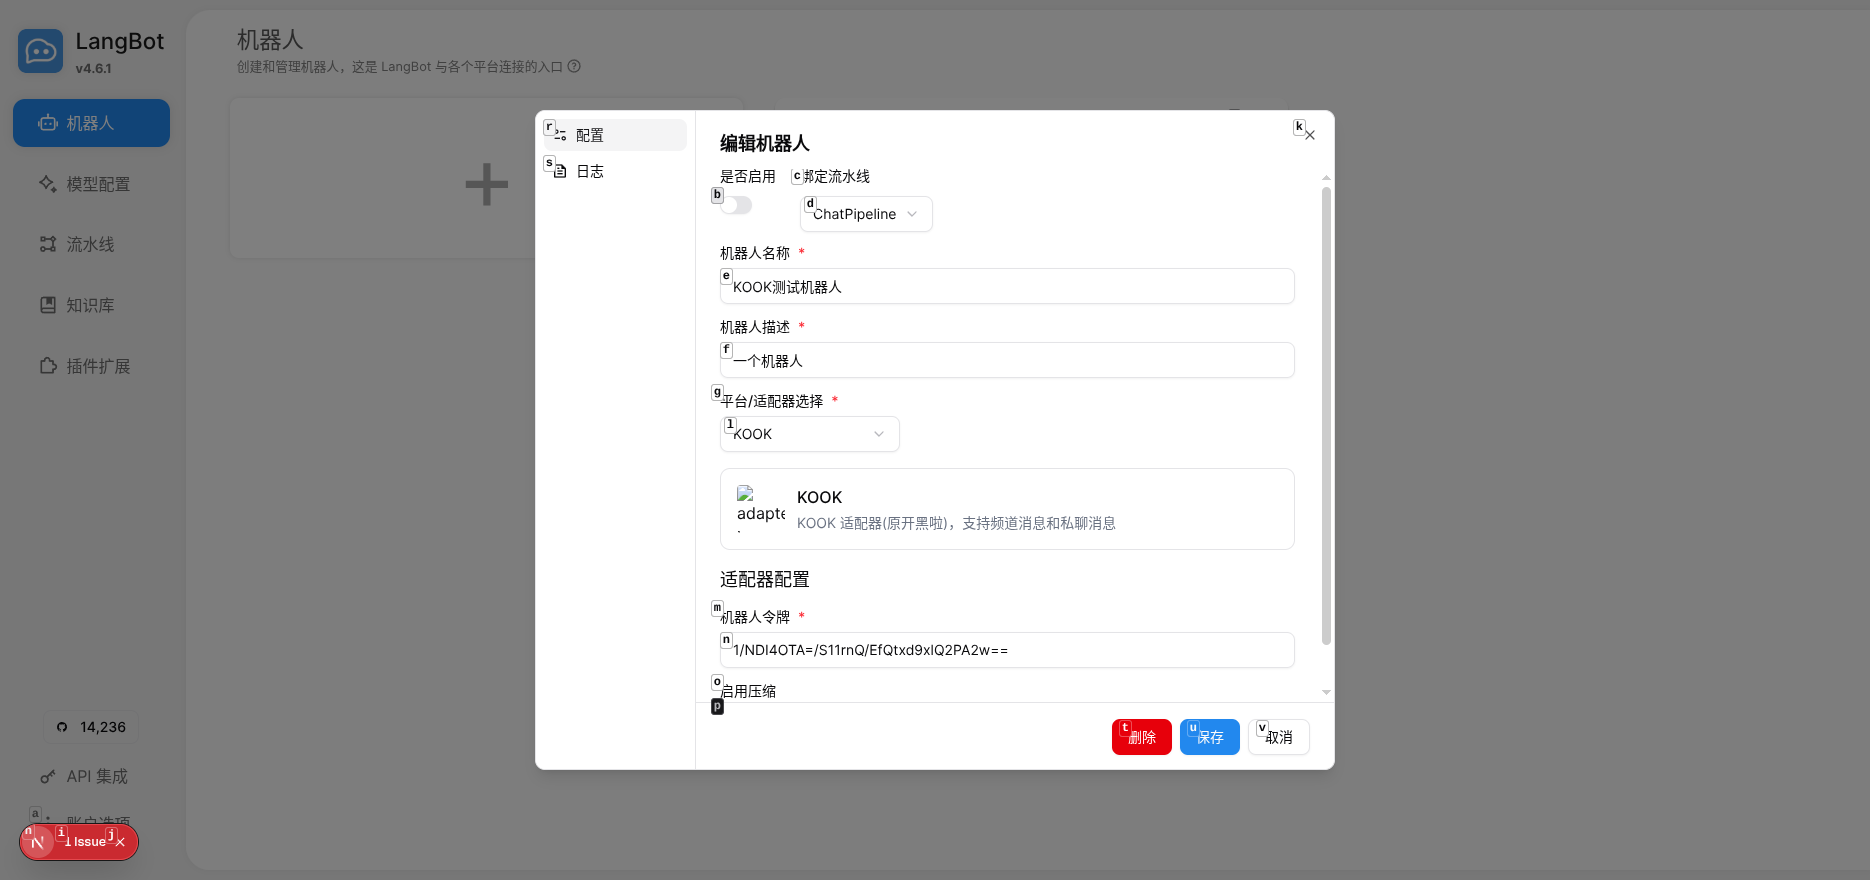 Click the enable button to start the bot. If successfully configured, the bot status will show as running.
 ## Using the Bot
Now in the KOOK server, the bot can receive and reply to messages normally. The bot supports both channel messages and private messages.
This documentation is built and hosted on [Mintlify](https://mintlify.com), a developer documentation platform.
## Using the Bot
Now in the KOOK server, the bot can receive and reply to messages normally. The bot supports both channel messages and private messages.
This documentation is built and hosted on [Mintlify](https://mintlify.com), a developer documentation platform.